
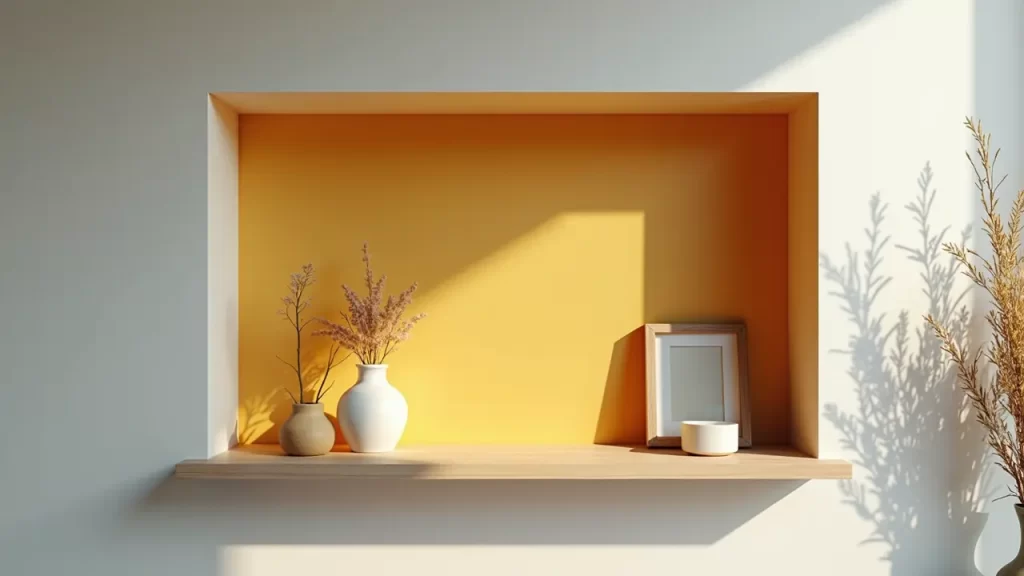
When you walk into a room and see an empty wall niche, it feels like wasted space that could do more. That’s where DIY wall niche shelf ideas using cheap materials come in handy, because they let you turn that blank spot into storage or decoration without spending much. You can use things like wood planks, glass pieces, old crates, or even books to make shelves that look stylish and cost very little.
In short, the easiest way to make shelves for a wall niche is by using low-cost items like plywood, MDF, glass, or recycled wood, and fixing them with simple supports. These shelves are cheap, strong, and can change the whole look of your space.
Now let’s go step by step through 27 clever and affordable ideas you can try at home.
Here are 27 DIY Wall Niche Shelf Ideas Using Cheap Materials
Let’s take you through 27 DIY wall niche shelf ideas. We’ll explain what to use, how to do it, and why it works.
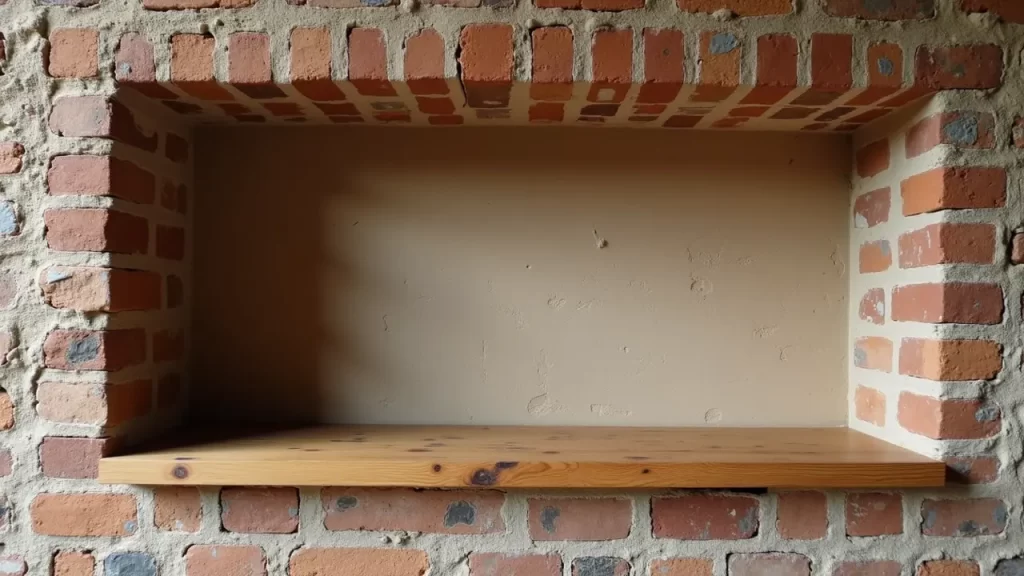
01. Wooden Plank Shelf
Wooden planks are simple and cheap.

Steps:
- Measure the inside width of your wall niche.
- Buy or cut a wooden plank to that size.
- Sand it so it feels smooth.
- Place it across the niche or screw in two small brackets to hold it.
This looks natural and strong. You can paint or stain it if you want.
02. Floating Plywood Shelf
Plywood is light and budget-friendly.

Steps:
- Cut plywood to fit your wall niche.
- Sand the edges.
- Fix hidden brackets (floating shelf brackets) on both sides of the niche.
- Slide the plywood in place.
It gives a clean floating look with no visible supports.
03. MDF Painted Shelf
MDF is cheaper than wood and takes paint very well.
Steps:
- Cut MDF to match the width of the wall niche.
- Prime and paint it in the colour you like.
- Use small brackets or glue supports on the niche walls.
- Place the shelf carefully.
This is best if you want bright colours or a modern look.
For colour choices that match your DIY shelves, see the 19 best paint colours to highlight a wall niche and pick the perfect shade.
04. Crate Shelf Inside Niche
Old crates can be reused.

Steps:
- Find a wooden crate that fits your niche.
- Clean and sand it.
- Slide it into the niche.
- You can stack two crates if space allows.
It makes a rustic shelf instantly with zero cutting.
05. Laminate Sheet Shelf
Laminates look glossy and modern.

Steps:
- Take a thin wooden or MDF board.
- Cover it with a cheap laminate sheet using glue.
- Trim the edges neatly.
- Fix it in your niche with brackets.
This type of shelf is easy to clean and shiny.
06. Glass Shelf with Brackets
Glass looks modern and light.

Steps:
- Get tempered glass cut to your niche size.
- Buy small L-shaped brackets or shelf clips.
- Screw the brackets into the niche walls.
- Place the glass on top.
This works great for decoration items.
07. Recycled Pallet Shelf
Pallet wood is often free.

Steps:
- Take apart an old pallet.
- Cut the planks to fit your niche.
- Sand them for a smooth finish.
- Nail or screw them together as a shelf.
- Place inside the niche with supports.
It looks rustic and strong.
08. PVC Pipe Shelf Base
PVC is cheap and easy to work with.

Steps:
- Cut PVC pipes into equal short pieces.
- Glue them side by side like a row.
- Place a thin wooden board or glass on top.
- Fix the set into your niche.
This shelf is lightweight and creative.
09. Cardboard Shelf (Temporary)
Cardboard works if you need something quick and cheap.

Steps:
- Cut thick cardboard pieces to your niche size.
- Glue several layers together to make it strong.
- Wrap it with contact paper or tape.
- Slide it inside the niche.
It’s not very strong but perfect for light items.
10. Brick Shelf Insert
Bricks can act as supports.
Steps:
- Place one brick on each side of the niche.
- Put a wooden board on top of the bricks.
- Adjust until it feels stable.
This gives a strong shelf without drilling.
11. Rope Hung Shelf Inside Niche
A hanging shelf adds a creative touch.

Steps:
- Drill two holes near the top of the niche.
- Pass ropes through and tie knots under a wooden board.
- Adjust the height with knots.
- Secure the rope ends at the top with hooks.
It looks fun and handmade.
12. Metal Rod Support Shelf
Metal rods can work as side supports.

Steps:
- Cut old curtain rods or steel rods.
- Drill holes in the side walls of the niche.
- Insert the rods firmly.
- Place a wooden or glass board on top.
It creates a simple and strong shelf.
13. Bamboo Stick Shelf
Bamboo is eco-friendly and cheap.

Steps:
- Cut bamboo sticks to fit your niche.
- Tie them together tightly with a rope.
- Place them across the niche like a mat.
- Fix with small nails if needed.
This gives a natural look.
14. L-Shaped Corner Shelf
Corners can hold more shelves.

Steps:
- Cut plywood or MDF into L shapes.
- Sand the edges smooth.
- Fix them in the corners of the niche.
- Stack multiple layers if you want.
It makes better use of corner space.
Here are 10 creative wall niche ideas for hallways and corners that can help you use space smartly.
15. Old Drawer Shelf
Drawers can be reused as shelves.
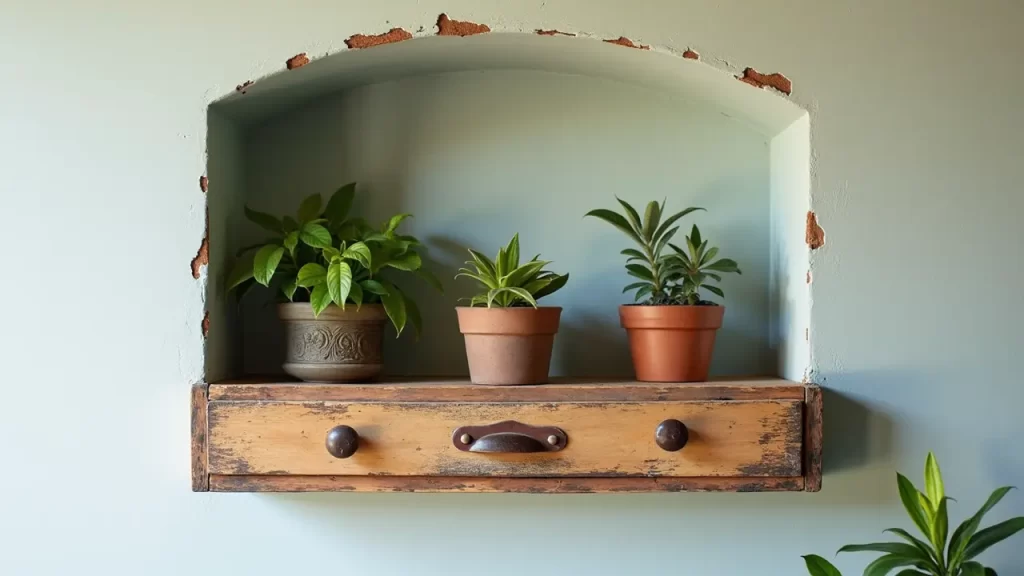
Steps:
- Take out a drawer from old furniture.
- Remove the handle if you want.
- Clean and paint it.
- Slide it into the niche as a box shelf.
This is great for a vintage touch.
16. Wire Mesh Shelf
Wire mesh is strong and light.

Steps:
- Cut wire mesh to fit your niche.
- Bend the edges a little for strength.
- Fix it on small supports or screws.
This gives an industrial look and is very cheap.
17. Ladder Step Shelf
A ladder step works as a ready-made shelf.
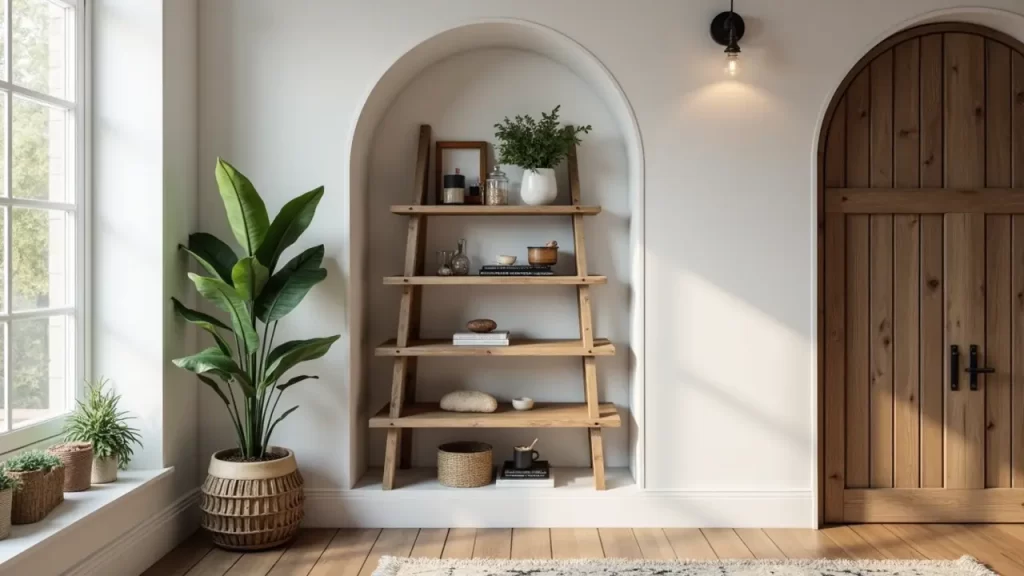
Steps:
- Take one or two steps from an old ladder.
- Sand them for safety.
- Fix them inside the niche with brackets.
It creates a rustic-style shelf.
18. Recycled Plastic Shelf
Plastic boards are waterproof and light.

Steps:
- Cut thick plastic panels to your niche size.
- Smooth the edges.
- Place them on small supports.
This shelf is good for bathrooms or kitchens.
19. Fabric Wrapped Shelf
Fabric adds colour and texture.

Steps:
- Cut MDF or plywood to fit your niche.
- Wrap it with cloth and staple or glue the edges.
- Place the fabric-wrapped board inside.
It looks soft and stylish.
20. Mirror Shelf
The mirror makes the niche look bigger.

Steps:
- Cut mirror glass to fit.
- Fix small shelf brackets.
- Place the mirror board on them.
It’s perfect for decorative items.
21. Stone or Tile Shelf
Tiles give a strong and unique shelf.

Steps:
- Take leftover tiles or stones.
- Place them across the niche with adhesive.
- Add grout to keep them in place.
It looks elegant and lasts long.
22. Old Books as Shelf
Old books can become a fun shelf.

Steps:
- Pick thick hardback books.
- Stack them neatly.
- Glue them together if you want strength.
- Slide into the niche as a quirky shelf.
This works best for light objects.
23. Acrylic Sheet Shelf
Acrylic looks modern and clear.

Steps:
- Buy cheap acrylic sheets.
- Cut them to size with a fine saw.
- Fix with small supports or clips.
This gives a clean floating effect.
24. Magazine Rack Shelf
Old racks can be reused.

Steps:
- Take a wire magazine rack.
- Fix it inside the niche with screws.
- Use it as a light shelf.
It’s quick and saves money.
25. Basket Shelf
Baskets add both style and storage.
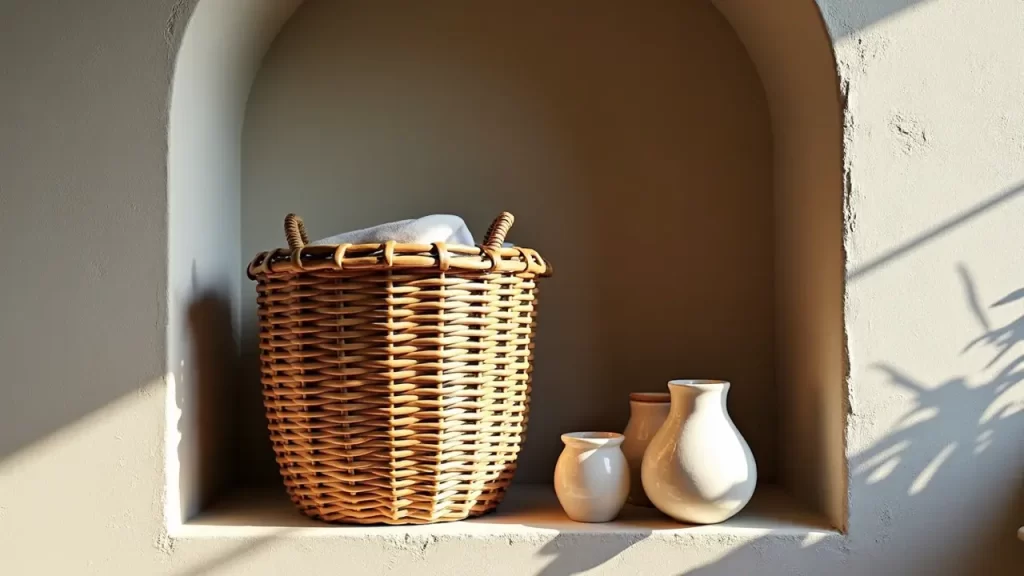
Steps:
- Find a flat wicker basket.
- Slide it inside the niche.
- You can also fix it with screws if needed.
It works for storing small things.
26. Tile Covered Plywood Shelf
Mix wood and tile for a solid finish.

Steps:
- Cut plywood to fit.
- Glue leftover tiles on top.
- Let it dry and place it inside.
This gives a designer look.
27. Combination Shelf (Mix Materials)
Mixing materials creates a unique shelf.
Steps:
- Use a wooden base.
- Add a glass or acrylic top.
- Fix with metal brackets.
This way, you combine strength with style.
If you want to style your shelves even more, check out 30 amazing wall niche decorating ideas without breaking walls for fresh inspiration.
Quick Comparison Table of Shelf Materials
| Idea | Cost Range | Best Use | Looks |
| Wooden Plank | $5–10 | All rooms | Natural |
| Glass Shelf | $15–25 | Decor items | Modern |
| Pallet Wood | Free–$10 | Rustic homes | Rustic |
| PVC Pipe | $5–12 | Creative shelves | Fun |
| Cardboard | Free–$5 | Temporary | Simple |
| Stone/Tile | $20–30 | Strong permanent | Elegant |
To plan your shelves perfectly in any room, check functional wall niche layouts for every room for practical ideas.
Turn Empty Wall Niches into Stylish DIY Shelves on a Budget
Wall niches are not just empty spaces on the wall. With a little creativity, you can turn them into useful shelves that make your home look smart and stylish.
Here at BricksBeam, we love sharing simple DIY wall niche shelf ideas using cheap materials. You do not need fancy tools or a big budget. Just some basic items like wood planks, crates, glass, or even old books can work.
You can go for strong shelves if you need storage, or light decorative shelves if you just want a nice display. The fun part is, you get to make it your own without spending much.
And if you want more inspiration, check out our BricksBeam homepage for creative tips on lighting, storage, and other wall niche designs.
Wrapping Up
Making wall niche shelves is not about spending a lot. It’s about being smart with what you have. From wood to glass, from crates to books, you can turn almost anything into a shelf.
Each of these 27 diy wall niche shelf ideas using cheap materials is easily doable. Pick the one that matches your space, follow the steps, and enjoy your new shelf.
Finally, if you need any help with wall niche shelf ideas or home styling, feel free to email me at calvina@bricksbeam.com — I’m always happy to help!

